Transmissive Screen vs Reflective Paper
Eliminate dark, blocked-up prints by setting display luminance (`90–110 cd/m²`) and room ambient light to match real print viewing conditions.
Bridge the gap between glowing RGB screens and archival paper through display luminance calibration, ICC paper soft-proofing, print-scale sharpening, and test-strip evaluation.
Almost every photographer has experienced sending a luminous screen edit to a print lab only to receive a dark, muddy sheet of paper back; factory-bright monitors shine transmissive RGB light directly into your eyes at 250–400 cd/m², whereas paper only reflects room light and absorbs pigment differently across matte cotton rag versus coated baryta stocks. In this course, we calibrate display luminance to print standards (`90–110 cd/m²`), soft-proof lab ICC paper profiles in Lightroom and Photoshop, apply viewing-distance resolution and output sharpening, and evaluate physical test strips before ordering full editions.
Start with a free online intro consultation for this course: we review the syllabus together, clarify how many sessions you need based on your goals and pace, and decide whether continuing Online ($69 CAD/hr) or In-Person ($99 CAD/hr) suits you best.
Prefer just the written framework instead of live sessions? A standalone $39 CAD PDF guide option can also be requested for this course: select the PDF option below.
Need on-location photography for your team, brand, or listing in Toronto & GTA? Explore our Toronto Photography Services, configure a shoot on Book Online, or see recent shoots on @tehranto.plus on Instagram.
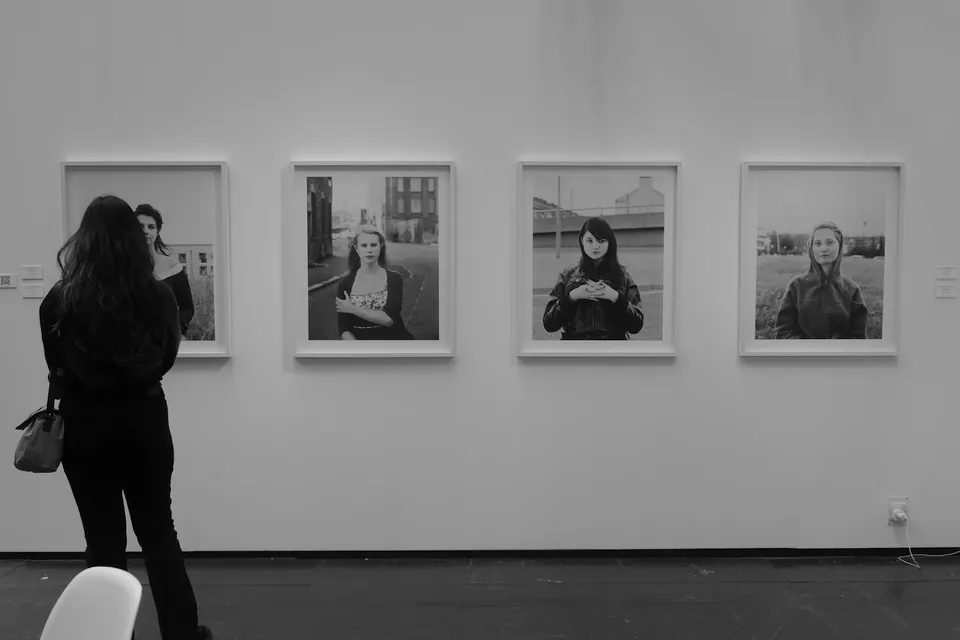
Every learner starts from a different background. These are the core capabilities this course develops, paced to your goals across the sessions we plan together.
Eliminate dark, blocked-up prints by setting display luminance (`90–110 cd/m²`) and room ambient light to match real print viewing conditions.
Load exact fine-art paper ICC profiles with paper-and-ink simulation active so you compensate for matte black lift and gamut shifts beforehand.
Prepare files at proper `240–300 PPI` print dimensions and apply surface-specific sharpening that counters physical ink spread on paper.
Build clean framing margins and order economical multi-section test strips on your chosen stock before committing to large exhibition prints.
Below are the main concepts and topics covered in this course. In your Free Online Intro Session, we align the exact depth and number of sessions to your experience and goals.
Aligning your monitor and editing room so shadow density and color temperature stop lying to your eyes before you open a print file.
Matching image character to cotton rag matte, luster, or glossy baryta papers and building dedicated print-only proof adjustments.
Resizing camera files cleanly from intimate portfolio prints up to large framed wall pieces while accounting for physical ink dot-gain.
Verifying real pigment behavior on paper via structured test strips and packaging print-ready masters for labs, framers, or collectors.
Core practical benchmarks and standards covered as part of this course's curriculum.
| Workflow Step | Common Print Disappointment | Calibrated Method Taught | Gallery Print Result |
|---|---|---|---|
| Monitor Luminance | Editing on a bright `300 cd/m²` screen in a dim room | Setting display luminance to `90–110 cd/m²` under steady room light | Printed shadow density matches your on-screen tonal intent |
| ICC Paper Simulation | Sending a standard web-edited JPEG straight to cotton matte rag | Dedicated proof copy with lab ICC paper-and-ink simulation | Rich tonal separation compensated for matte black ink absorption |
| Sizing & Output Sharpen | Skipping output sharpening so ink spread softens fine detail | Target-dimension resize (`240–300 PPI`) plus paper-matched sharpening | Crisp tactile micro-contrast at natural viewing distance |
| Test-Strip Check | Ordering an expensive large-format print blind on the first try | Inspecting a multi-crop test strip on the exact target paper first | Zero costly reprints and confident exhibition-ready editions |
Choose a time for your Free Online Intro Session to map out your course path, or book an Online ($69/hr) or In-Person ($99/hr) session directly, or request the $39 CAD PDF guide option.
You do not need to buy extra hardware beforehand. Modern Apple XDR laptops and pro IPS monitors include reference luminance modes we configure right away, while also showing how hardware colorimeters work when needed. Bring your own RAW or master files; starting from your Free Online Intro Session, we tailor the workflow around your screen and preferred Canadian fine-art lab.
Every course begins with a Free Online Introductory Session where we review the core syllabus together, evaluate your current background and goals, and map out how many sessions you actually need and whether continuing Online ($69 CAD/hr) or In-Person ($99 CAD/hr) suits you best. Session count is never a rigid one-size-fits-all number; it adapts to your own level and pace.
There is zero upfront package commitment: live sessions are booked flexibly session-by-session ($69 CAD/hr online or $99 CAD/hr in-person). If you prefer a self-paced written guide instead of live coaching, a standalone $39 CAD PDF option can also be requested for this topic.
Your choice: every session with Iman Adlkhah can be conducted 100% in English, 100% in Persian (Farsi), or naturally bilingual with industry terminology.
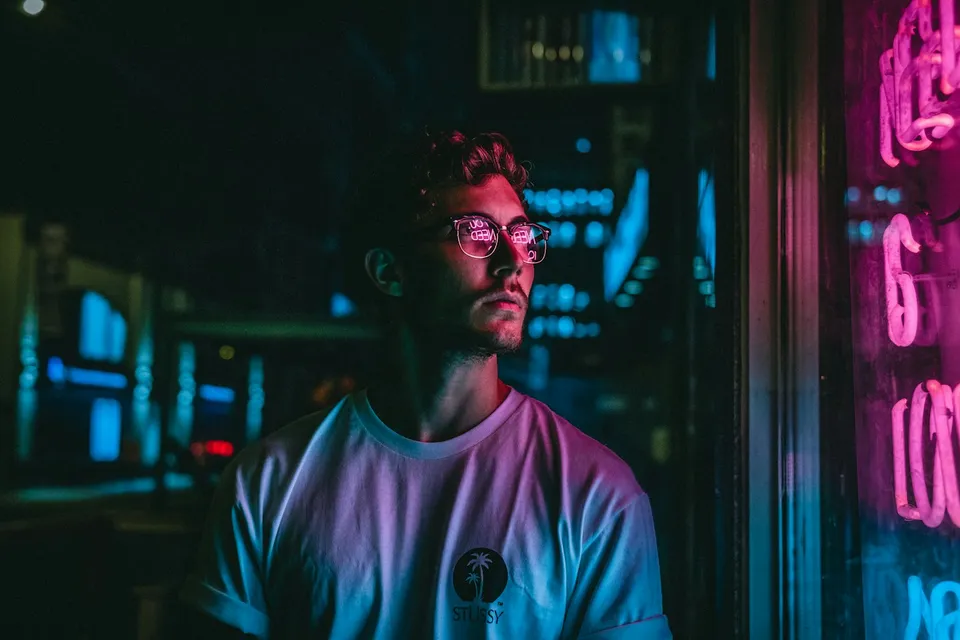
Apply complementary and analogous color harmony, protect clean skin tones, isolate colored beams with grids and flags, and prevent RGB sensor channel clipping.
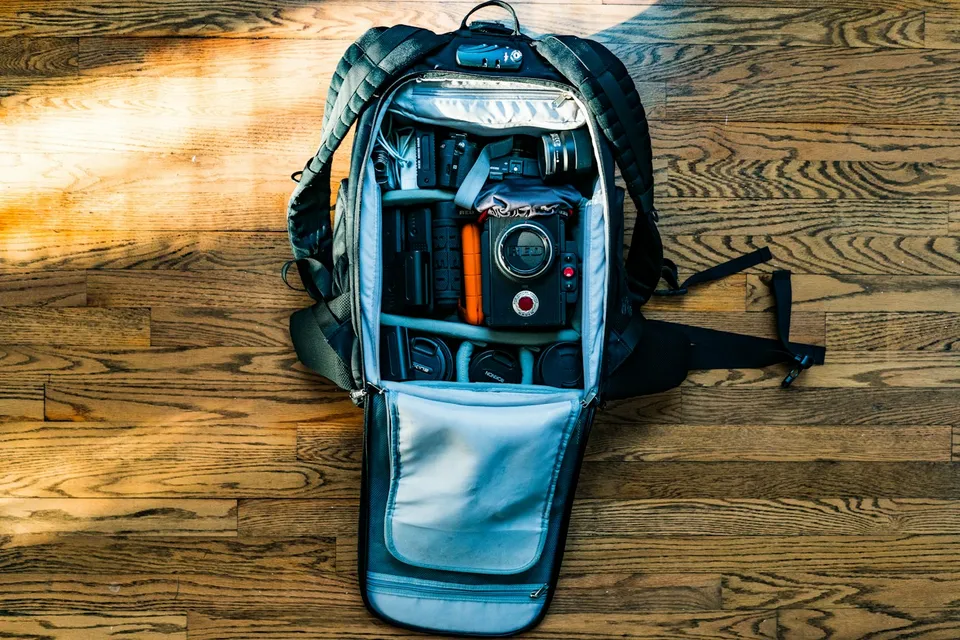
Diagnose whether your current creative ceiling comes from technique, lighting, optics, or camera body, and build a smart Canadian gear roadmap without wasted spend.
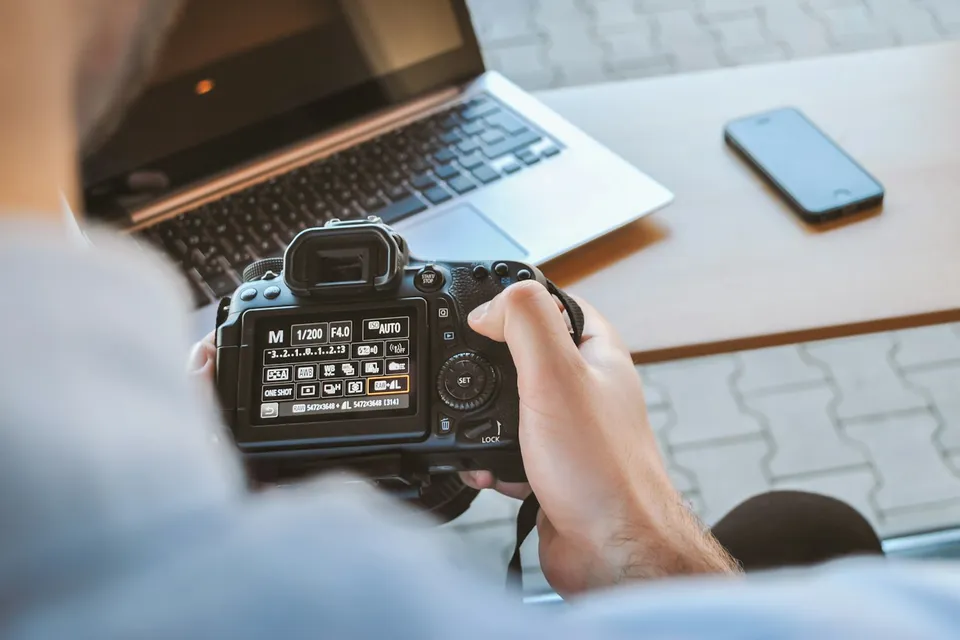
Structure focused seasonal or studio mini-session offers with sound break-even math, realistic buffer scheduling, repeatable lighting, clear deliverables, and GTA venue compliance.