Shared Working Color-Space Normalization
Map Canon C-Log2/C-Log3, Sony S-Log3, DJI D-Log M, and Apple Log or Rec.2020 HLG into one unified working space before making any creative look decisions.
Unify mixed Canon, Sony, DJI drone, and iPhone clips on one timeline through shared color-space normalization, side-by-side scope matching, green/magenta skin balance, and matched optical texture.
Real commercial and documentary timelines rarely come from identical sensors: your main interview runs on Canon Log, a gimbal B-cam shoots Sony S-Log3, aerials arrive in DJI D-Log M, and a close cutaway comes off an iPhone in Apple Log or HLG. Guessing by eye with colour wheels leaves jarring magenta-to-green skin shifts and crunchy digital phone edges on every cut. In this course, we normalize mixed color spaces into one shared working pipeline, match exposure and tint methodically on scopes, and unify sharpness and grain.
Start with a free online intro consultation for this course: we review the syllabus together, clarify how many sessions you need based on your goals and pace, and decide whether continuing Online ($69 CAD/hr) or In-Person ($99 CAD/hr) suits you best.
Prefer just the written framework instead of live sessions? A standalone $39 CAD PDF guide option can also be requested for this course: select the PDF option below.
Prefer done-for-you commercial filming, kinetic typography, and color grading for your brand? View our Video Production Studio, Client Portfolio, and recent edits on @tehranto.plus on Instagram.
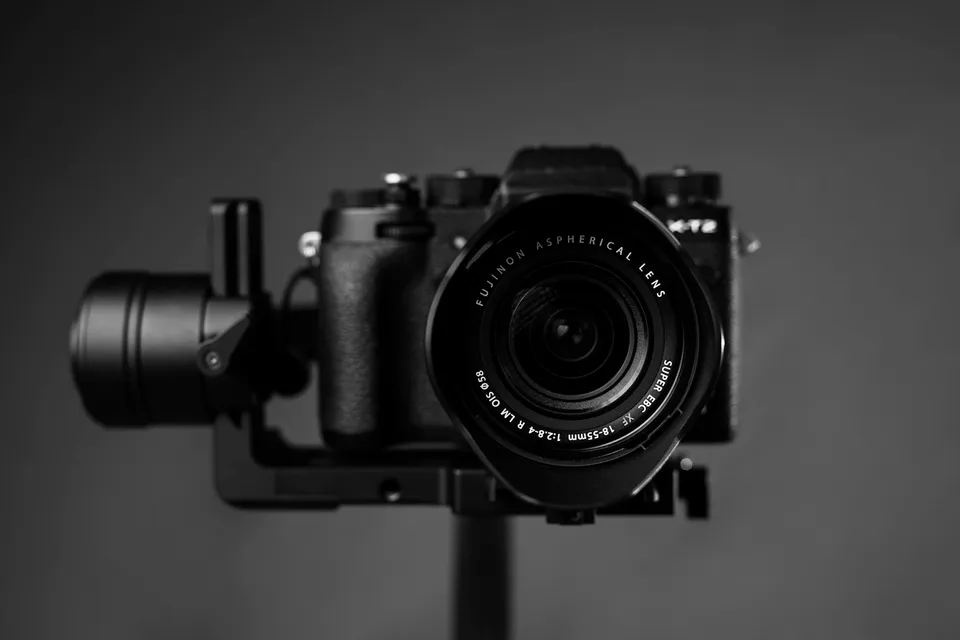
Every learner starts from a different background. These are the core capabilities this course develops, paced to your goals across the sessions we plan together.
Map Canon C-Log2/C-Log3, Sony S-Log3, DJI D-Log M, and Apple Log or Rec.2020 HLG into one unified working space before making any creative look decisions.
Use side-by-side Wipe / Comparison View in strict mechanical order: first black floor and midtone luminance, second neutral grey balance, third skin hue.
Align Sony's cooler yellow-green bias with Canon's warm magenta-red skin tendency on the Vectorscope, and tame over-bright smartphone HDR upper stops cleanly.
Soften harsh smartphone and drone micro-contrast halos, then apply one shared post-group contrast curve and subtle film grain so cuts feel shot on one camera.
Below are the main concepts and topics covered in this course. In your Free Online Intro Session, we align the exact depth and number of sessions to your experience and goals.
Reducing sensor mismatches before pressing record and configuring clean color management in DaVinci Resolve or Premiere Pro so every Log/HDR clip starts on equal footing.
Pinning your hero A-cam shot as the visual anchor and matching B-cam and cutaway luminance and RGB neutrality without trusting room-tinted eyesight.
Correcting secondary color-matrix differences where two cameras share balanced whites yet render human skin, blue skies, or foliage at noticeably different angles.
Bridging the optical character gap between small smartphone/drone sensors and full-frame lenses, then sealing the edit under one master look.
Core practical benchmarks and standards covered as part of this course's curriculum.
| Camera Source | Typical Unmatched Trait | Normalization & Scope Fix | Matched Timeline Feel |
|---|---|---|---|
| Canon Mirrorless / Cinema | Warm magenta-red skin bias under indoor tungsten | C-Log CST input + controlled red saturation on Vectorscope | Clean anchor skin reference for the rest of the edit |
| Sony Alpha / FX Line | Cooler shadow tint or slight yellow-green skin shift | S-Gamut3.Cine / S-Log3 CST + subtle Hue vs Hue skin rotation | Cuts against Canon angles without noticeable hue jump |
| iPhone Pro (Log / HLG) | Harsh digital edge halos and clipped HLG bright tones | Apple Log / Rec.2020 HLG mapping + negative Midtone Detail | Organic softness that blends beside mirrorless lenses |
| DJI Aerials (D-Log M) | Electric foliage greens and brittle sky cyan transitions | Hue/Sat green-cyan taming + unified post-group look curve | Establishing aerials belong to the exact same film world |
Choose a time for your Free Online Intro Session to map out your course path, or book an Online ($69/hr) or In-Person ($99/hr) session directly, or request the $39 CAD PDF guide option.
Both workflows work cleanly. DaVinci Resolve's Color Space Transform and Group nodes give you deep scene-referred control, while Premiere Pro's Comparison View, Lumetri Scopes, and Secondary HSL curves handle multi-cam matching right inside your edit timeline. In your Free Online Intro Session, we align the training with your preferred NLE and actual camera combination.
Every course begins with a Free Online Introductory Session where we review the core syllabus together, evaluate your current background and goals, and map out how many sessions you actually need and whether continuing Online ($69 CAD/hr) or In-Person ($99 CAD/hr) suits you best. Session count is never a rigid one-size-fits-all number; it adapts to your own level and pace.
There is zero upfront package commitment: live sessions are booked flexibly session-by-session ($69 CAD/hr online or $99 CAD/hr in-person). If you prefer a self-paced written guide instead of live coaching, a standalone $39 CAD PDF option can also be requested for this topic.
Your choice: every session with Iman Adlkhah can be conducted 100% in English, 100% in Persian (Farsi), or naturally bilingual with industry terminology.
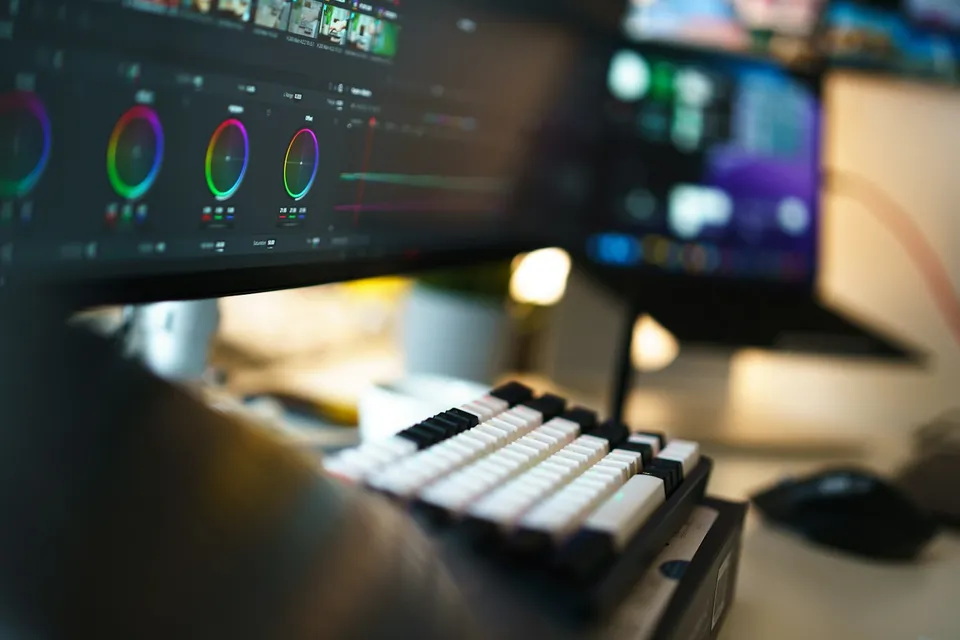
Build a repeatable scene-referred Color Space Transform (CST) node pipeline in DaVinci Resolve for accurate skin tones, smooth bright-tone roll-off, and consistent macOS/web exports.
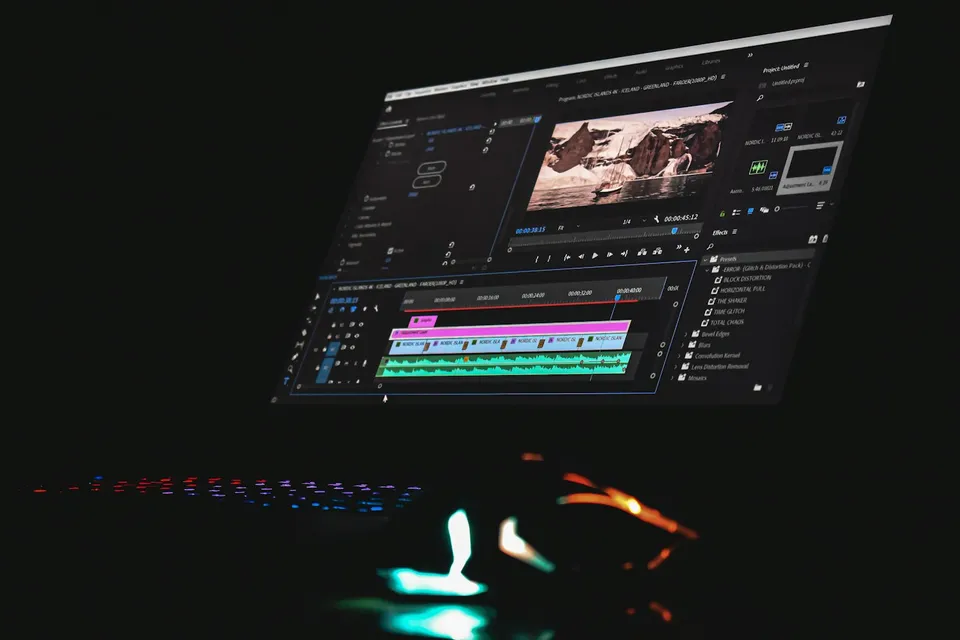
Replace noisy word-by-word auto-captions with deliberate After Effects phrase lockups, Bezier speed-graph easing, Difference blend accents, and crisp Persian/English typography.
Place bold headlines and floating data cards cleanly behind moving speakers using disciplined three-layer compositing, clean hair edges, and optical depth matching.