DaVinci Wide Gamut CST Sandwich
Map camera Log into DaVinci Wide Gamut / Intermediate on your entry node and convert cleanly to Rec.709 on your final node so every adjustment in between has full 32-bit headroom.
Build a repeatable scene-referred Color Space Transform (CST) node pipeline in DaVinci Resolve for accurate skin tones, smooth bright-tone roll-off, and consistent macOS/web exports.
Dropping generic internet LUTs onto Canon C-Log2, Sony S-Log3, or Apple Log footage crushes shadow detail, clips upper stops abruptly, and pushes skin toward unnatural orange or magenta casts. In this course, we construct a clean scene-referred node tree inside DaVinci Wide Gamut / Intermediate, balance exposure and printer-lights white balance before contrast, verify skin on the Vectorscope, resolve QuickTime gamma tag shifts, and save reusable PowerGrade looks.
Start with a free online intro consultation for this course: we review the syllabus together, clarify how many sessions you need based on your goals and pace, and decide whether continuing Online ($69 CAD/hr) or In-Person ($99 CAD/hr) suits you best.
Prefer just the written framework instead of live sessions? A standalone $39 CAD PDF guide option can also be requested for this course: select the PDF option below.
Prefer done-for-you commercial filming, kinetic typography, and color grading for your brand? View our Video Production Studio, Client Portfolio, and recent edits on @tehranto.plus on Instagram.
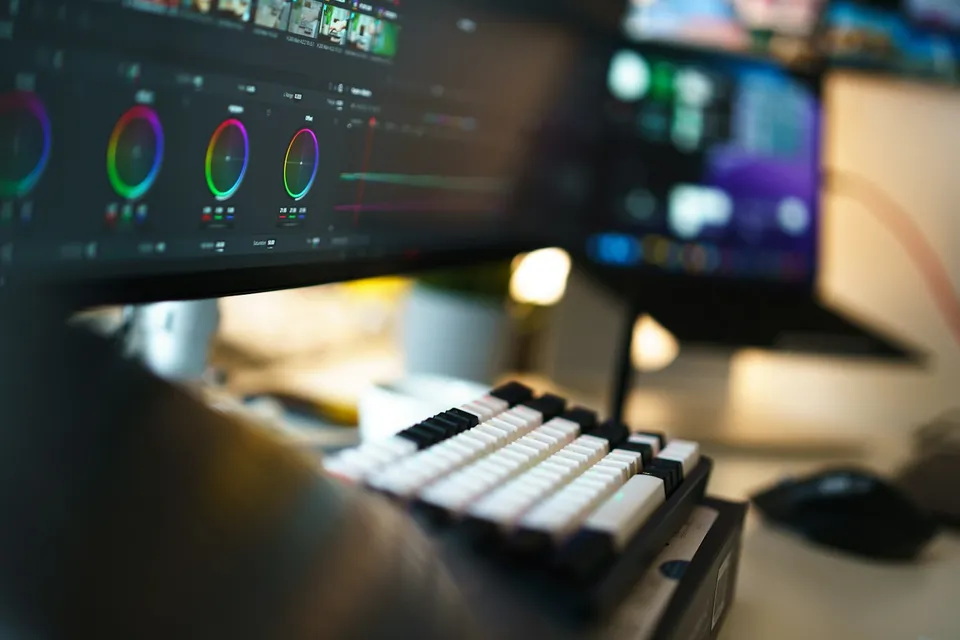
Every learner starts from a different background. These are the core capabilities this course develops, paced to your goals across the sessions we plan together.
Map camera Log into DaVinci Wide Gamut / Intermediate on your entry node and convert cleanly to Rec.709 on your final node so every adjustment in between has full 32-bit headroom.
Adjust exposure and Offset printer-lights Kelvin/Tint upstream of your contrast curve so tonal response behaves like changing ISO and white balance on set.
Crop and check skin patches against the Vectorscope skin-tone indicator so faces stay natural even when room walls cast green or warm tungsten tint.
Apply reliable Rec.709 / Rec.709-A tagging for QuickTime, Safari, and iPhone consistency, and store clean commercial and film-inspired PowerGrade trees in your gallery.
Below are the main concepts and topics covered in this course. In your Free Online Intro Session, we align the exact depth and number of sessions to your experience and goals.
Understanding why scene-referred grading preserves tonal latitude compared to display-referred LUTs, and wiring a clean fixed-purpose node tree.
Establishing clean tonal weight and neutral whites upstream so contrast curves and subtractive color density build depth without muddying shadows.
Guiding viewer attention softly toward the subject using tracked Power Windows, clean HSL/3D qualifiers, and restrained halation or film-print curves.
Matching clips across changing daylight and interior angles, organizing group-level looks, and exporting predictable masters for social and broadcast delivery.
Core practical benchmarks and standards covered as part of this course's curriculum.
| Pipeline Stage | Common LUT Mistake | Scene-Referred Method Taught | Image Quality Result |
|---|---|---|---|
| Input Color Space | Dropping a mystery Rec.709 LUT directly onto Log | Camera-specific CST into DaVinci Wide Gamut / Intermediate | Full dynamic range preserved without clipped channels |
| Exposure & Balance | Fixing exposure after a heavy contrast LUT clips whites | Upstream HDR exposure and Offset printer-lights balance | Clean neutral whites and natural shadow roll-off |
| Skin & Creative Look | Pushing saturation sliders until faces turn orange | Vectorscope skin alignment paired with subtractive density | Believable human skin inside commercial or film looks |
| Output & Gamma Tag | Washed-out grey MP4 exports in QuickTime and Safari | Tone-mapped Output CST with verified Rec.709 / Rec.709-A tags | Predictable contrast across Mac, iPhone, and YouTube |
Choose a time for your Free Online Intro Session to map out your course path, or book an Online ($69/hr) or In-Person ($99/hr) session directly, or request the $39 CAD PDF guide option.
The free edition of DaVinci Resolve includes Color Space Transform (CST), DaVinci Wide Gamut, full scopes, Power Windows, and 10-bit ProRes/H.265 export on macOS. In your Free Online Intro Session, we check your camera's Log format and edition of Resolve so every session fits your exact setup.
Every course begins with a Free Online Introductory Session where we review the core syllabus together, evaluate your current background and goals, and map out how many sessions you actually need and whether continuing Online ($69 CAD/hr) or In-Person ($99 CAD/hr) suits you best. Session count is never a rigid one-size-fits-all number; it adapts to your own level and pace.
There is zero upfront package commitment: live sessions are booked flexibly session-by-session ($69 CAD/hr online or $99 CAD/hr in-person). If you prefer a self-paced written guide instead of live coaching, a standalone $39 CAD PDF option can also be requested for this topic.
Your choice: every session with Iman Adlkhah can be conducted 100% in English, 100% in Persian (Farsi), or naturally bilingual with industry terminology.
Combine ambient luminosity frames with directional flash exposures in Photoshop for neutral walls, believable window views, crisp verticals, and distraction-free interiors.
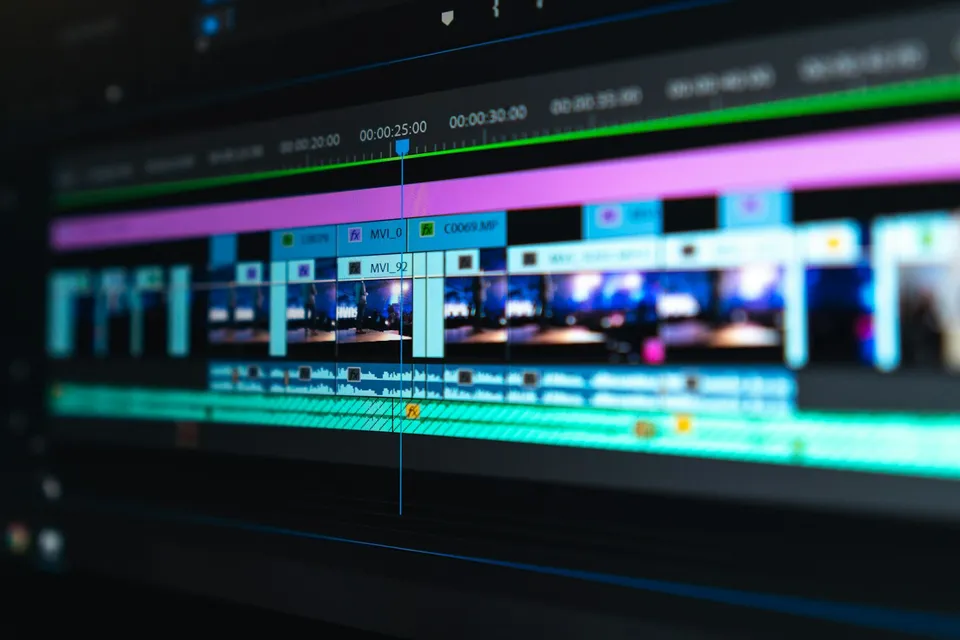
Learn clean Premiere Pro project organization, waveform-driven ripple cutting, natural punch-in reframing, clear dialogue mixing, and accurate Rec.709 export.
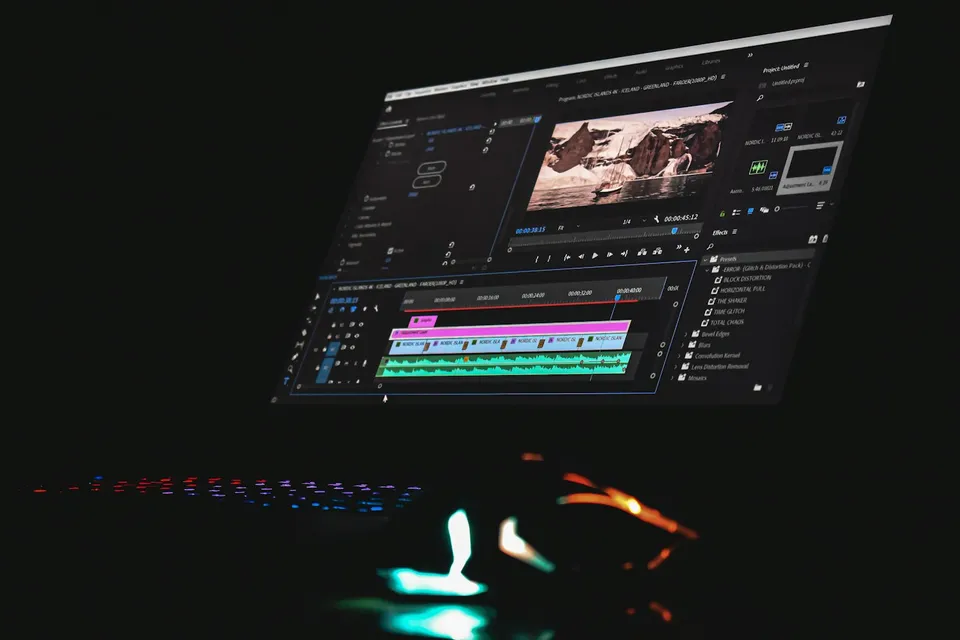
Replace noisy word-by-word auto-captions with deliberate After Effects phrase lockups, Bezier speed-graph easing, Difference blend accents, and crisp Persian/English typography.